Well, I think I owed it to you all to do another makeup tutorial after my last was lacking somewhat in the light department. Quite honestly, my Achilles heel is my vision. Or lack thereof. So I have hopefully been able to do this video a little more justice than the last. Note that I was aiming for 5 minutes, gave myself 6, then had a bit of a hiccup with my new products which pushed out my time a little....
What I am NOT using in this video
I am not using any of what I would have called 'frosting' when I was in my 20s, but now I call a necessity...
Prep & Prime Fix +
24hr eye base or paint pot
skin primer
lip primer
contouring powders
highlighting powders
concealers
correctors
multiple eyeshadows
multiple blushes
lip liner
lip gloss
That's a bit of a list... but I can say that out of all of those items, the one I will NOT forgo is the 24hr eye base. It is awesome and does exactly what I want it to do. Keeps it all in place, kinda like Spanx for the eyelids! If you buy one more product for your kit, this should be it!
Enjoy the video and take a look at the swatches at the end.
I hope you enjoy!
MAC Nutcracker Sweet Magic Dust Powder in Sweet Vision and Magic Dust Eyeshadow in Forward March
MAC Nutcracker Sweet Magic Dust Powder in Sweet Vision
MAC Nutcracker Sweet Magic Dust Powder in Sweet Vision
MAC Nutcracker Sweet Magic Dust Powder in Sweet Vision
MAC Nutcracker Sweet Magic Dust Powder in Sweet Vision
MAC Nutcracker Sweet Magic Dust Powder in Sweet Vision
MAC Nutcracker Sweet Magic Dust Eyeshadow in Forward March
MAC Nutcracker Sweet Magic Dust Eyeshadow in Forward March
MAC Nutcracker Sweet Magic Dust Eyeshadow in Forward March
MAC Nutcracker Sweet Magic Dust Eyeshadow in Forward March
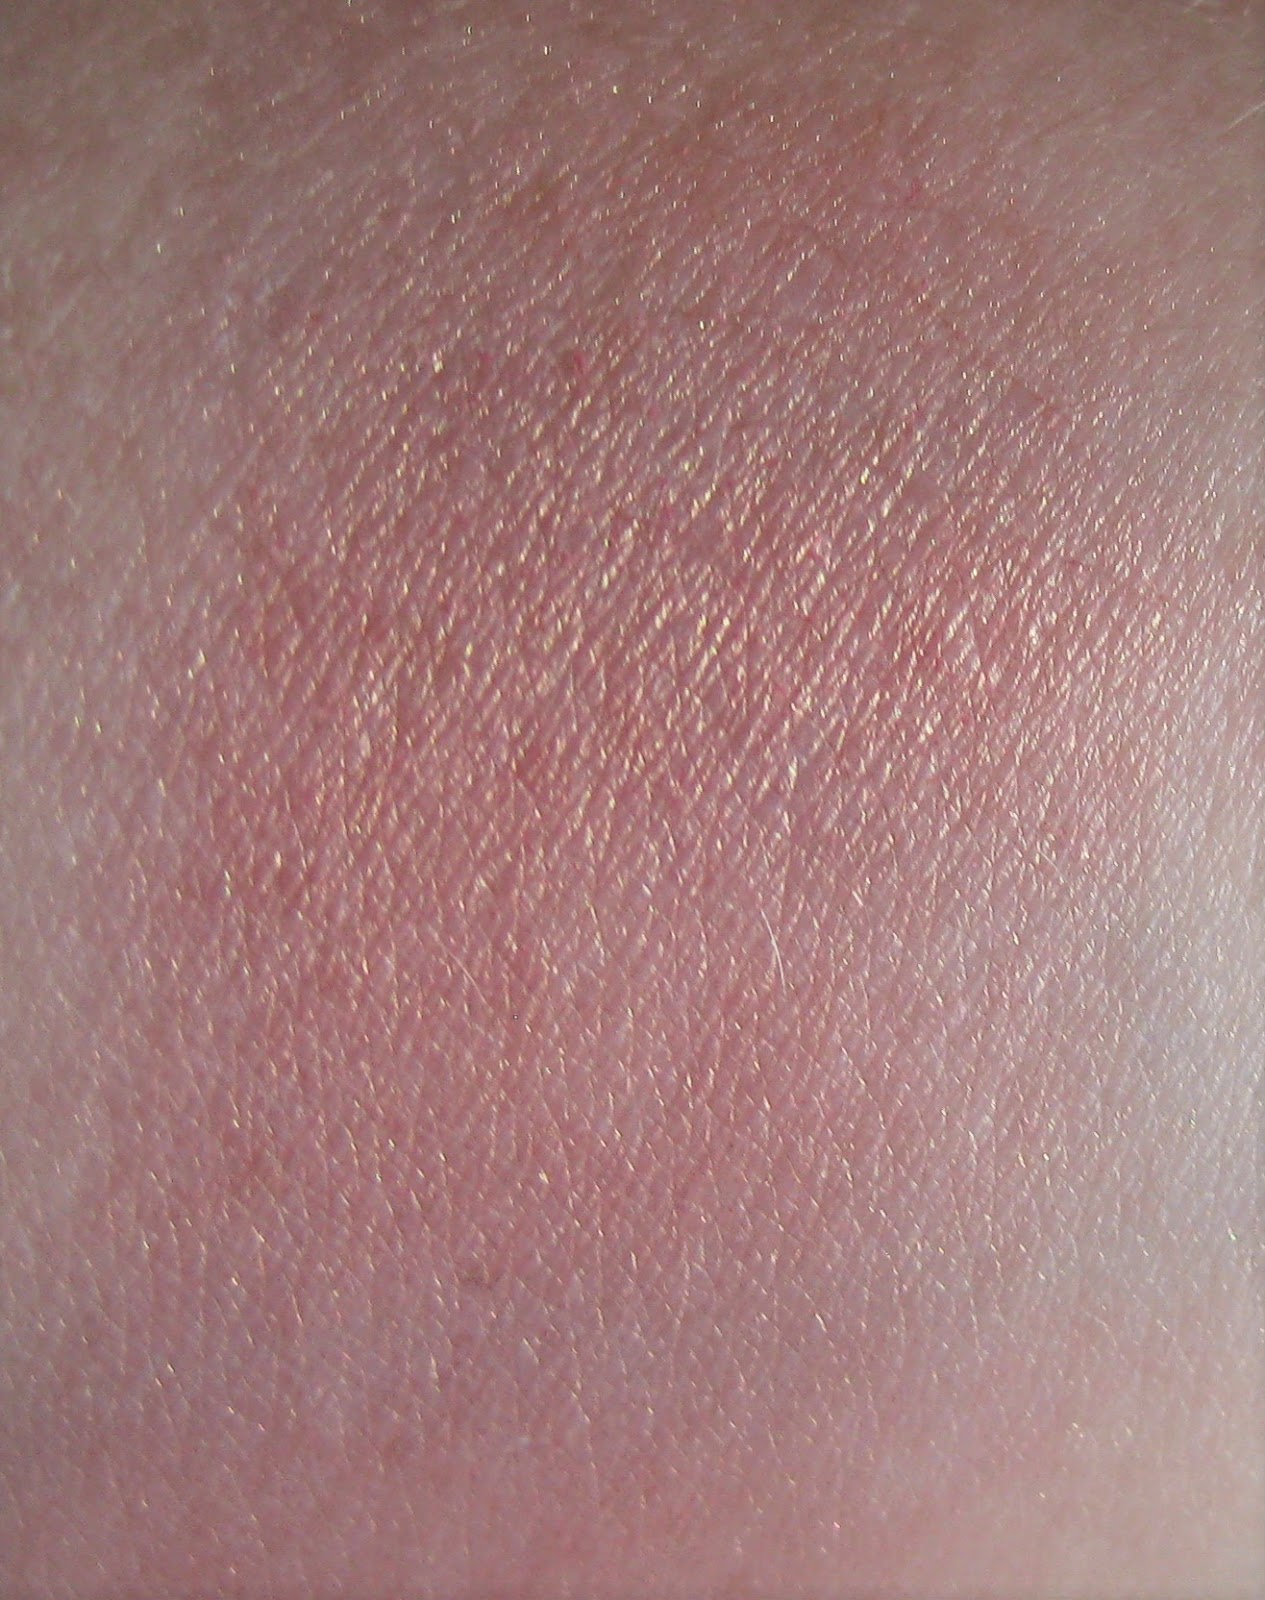
Sweet Vision, very hard to capture, so much shimmerr!
Forward March - Also very hard to capture the true colour
Please subscribe - a girl needs a little love! Even if it is for my photobomber...
We have all experienced it. Spent the night out instead of going home and ending up sleeping on somebody's couch, only to remember a commitment that doesn't allow you enough time to swing by your place to shower, change and apply fresh makeup. Well, after watching this video, may you never be caught with your pants down again.
The products included in my Cosmetic First Aid Kit are as follows :
1. Clarins (sample size) Hydra Quench Rich Face Cream
2. Clarins Lip Balm Crayon in Soft Coffee
3. Dior 5 Colour Iridescent Eyeshadow mini palette
4. Estee Lauder Softsmudge eyeliner crayon in Black
5. M.A.C sample false lashes mascara in Extreme Black
6. Nurtimetics lip pencil in Watermelon
7. M.A.C Limited Edition Star Trek lipstick in Where No Man Has Gone Before (get it before its gone!)
8. M.A.C Blot Powder
9. Dr Bronner's Magic Soap. 1 soap for 18 uses (this came in a David Jones deluxe tote bag)
10. Perfume miniature or atomiser
What is in your cosmetic First Aid Kit?
Don't forget to follow me for the latest updates! That's the little button on the right hand side bar. A girl needs a little love.
We have all experienced it. Spent the night out instead of going home and ending up sleeping on somebody's couch, only to remember a commitment that doesn't allow you enough time to swing by your place to shower, change and apply fresh makeup. Well, after watching this video, may you never be caught with your pants down again.
The products included in my Cosmetic First Aid Kit are as follows :
1. Clarins (sample size) Hydra Quench Rich Face Cream
2. Clarins Lip Balm Crayon in Soft Coffee
3. Dior 5 Colour Iridescent Eyeshadow mini palette
4. Estee Lauder Softsmudge eyeliner crayon in Black
5. M.A.C sample false lashes mascara in Extreme Black
6. Nurtimetics lip pencil in Watermelon
7. M.A.C Limited Edition lipstick in Where No Man Has Gone Before (get it before its gone!
8. M.A.C Blot Powder
9. Dr Bronner's Magic Soap. 1 soap for 18 uses (this came in a David Jones deluxe tote bag)
10. Perfume miniature or atomiser
Well, I have finally pulled my finger out and put together a couple of videos on how I go about my daily work makeup routine. It has been separated into two parts, one for eyes and the other for face. I would like to say that I separated them in case you only care about one or the other, but if I had to be honest, it's because I'm not all that fast and also because I'm not high enough up the YouTube food chain to get more than 15 minutes in the spotlight. 15 MINUTES!!! For MAKEUP !!! Yes well, um, I like to take my time, and as my mother said to me a few weeks ago 'oh, so that's why your eye makeup always looks better than mine. You spend a lot of time on it! I just grab some blush and swipe it on'. I'm am trying to convince my mum to spend more time on her eyes because, frankly, it is akin to blasphemy to be born with an awesome eye structure and never work with it. It's like my kids having a French father and they can't be bothered learning French. I had to learn about makeup and spend time in uni and France to learn the language! OK, calm down or this will turn into a Mad Hatter type rant.
Without further ado, I present to you:
The Eyes Have It
and
Face Time
Products used (all M. A.C unless otherwise stated)
Strobe Cream (optional)
Prep & Prime Fix + (optional) before and after applying makeup
Nutrimetics brow pencil (optional)
Eyes
Prep + Prime 24 hour extend eye base (or paint pot if desired) using fingers or a small brush
Studio Careblend or other pressed powder to fix eye base with small brush
Vanilla all over eyelid to brow bone with a shader brush
Copperplate from corner to crease with an angled brush or a business card and pencil or tapered brush
Satin Taupe to blend crease (optional) using a tapered brush
Sweet Illusion or some subtle sparkles under brows (optional) using any type of shader brush
Gel Eye-liner in Blitz & Glitz using an angled brow brush or other eyeliner brush
Extended Play Gigablack Lash mascara
Face
Pro Longwear Nourishing Waterproof Foundation - use pea sized amount with fingers or brush if desired. Remember - you can always apply more but too much is a just a shame (in terms of it running down the drain...)
Studio Conceal and Correct Palette - Light (optional). Using a concealer brush, apply pink based shades to counteract any bluishness under eyes and set with pressed powder using a shader brush. Buff during the day if it settles into fine lines. Use lighter shade than your normal foundation shade as a highlighter along the cheekbone under corner of eyes and along the nose. The yellow based shades can be used to counteract redness or other marks you would like to conceal. To counteract the dark trenches under my eyes, this is the best concealer I have ever used.
Set foundation and concealer with a powder. I have used Mineralize Skinfinish Natural in Light with a large powder brush.
Contouring and Blush (optional) : Using the Contour and Sculpt Yourself Palette (refillable and really really good value), use an angled brush with the sculpting powder in Sculpt to create some cheekbones, buffing along the hollow of the cheekbone to line up with the corner of the eye. Next use a blush brush to create a soft flush along cheekbones, I have used Fleur Power and Sunbasque. To highlight between the cheekbone, eye and any other areas you would like to highlight, use an angled brush with Emphasize and buff along the top of the cheekbone, around the outside of the eye, forehead, nose and chin.
For a bit of a glow (optional), use your blush brush to apply an iridescent pressed powder (I used Sparkling Rose from the Fairie Whispers collection) over highlighted area above and along cheekbones to tie the whole look together.
Lips (totally up to you!)
Apply a lip balm or Prep & Prime Lip to hydrate and prepare lips. The Prep + Prime product is supposed to prevent feathering and and improve the appearance and longevity of lip products. Or so the SAs have told me.
Line lips with a lip pencil and fill in the lips to assist adherence of lip products. I have used a very old Nutrimetics pencil in Watermelon.
Apply your lipstick - I have used the new Liptensity Lipstick in Marsala.
I hope you enjoy the videos, if you have any questions, just submit below or on YouTube.